This post may contain affiliate links. This means we may earn money or products from the companies mentioned in this post.
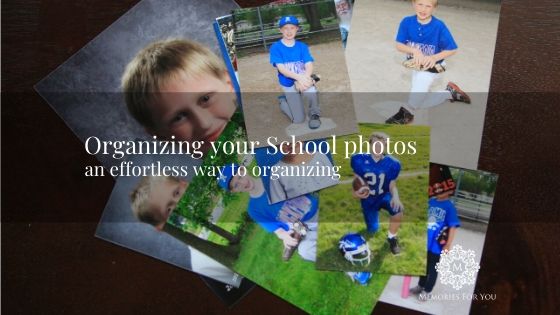
Do you have professional school pictures and sports pictures of your kids stuffed in Rubbermaid tubs in the back of the storage room? Have you wondered how to keep the school and sports photos chaos at bay? Here is an effortless way to keep the extra school photos organized. At the end of your project, you’ll be able to find them quickly so that you can use them for future scrapbooking projects or grab your favorites to use at high school graduation events.
Our family school and sports photos were piling up on one shelf in the storage closet and as I walked by I would think to myself “I should do something about those stacks of unused school photos.” Frustrated with the mess but unwilling to toss them, I thought what should I do with them? The goal was to be able to access them quickly and to look through them easily. Also, I didn’t want to fill a scrapbook that kept the photos stuck on a page that I couldn’t use elsewhere. Using a photo box to store them didn’t seem the right answer either. Thinking of supplies that I already had in the house, and that would meet all these criteria, I got to work. Below, I will share my easy way to organize school photos!
My new system
It’s a system that you can set up ahead of time so that when you need a place to put the new photos for the school year away, they have a place to go. It couldn’t be any easier.
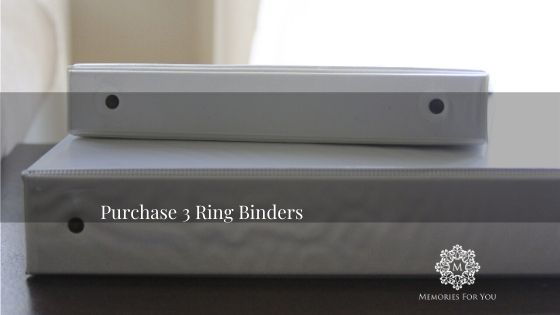
The first step is to gather the supplies or purchase them. You’ll need a three-ring binder. You can keep a separate binder, or you can buy a larger one that can house all the photos for the family in chronological order. Secondly, you’ll need page protectors like these below. Lastly, you’ll need paper, scrapbook paper, or tabs to document the year and or sport.
Round up the school photos
Next, gather all the extra school photos and sports photos you have laying around the house. Don’t get hung up on finding all of the years, if you’ve been lax in keeping them all together in one place. Using this method will get you started with your simple system. When you declutter or find another stack of photos, you can always go back and place the pictures in the right year and or binder.

Sort and categorize the photos
Sorting and organizing your photos according to grade, sport, child, or year will be your next step. Many of the school photos now have the year on the bottom corner. Finding the info printed on the envelope, or researching for the date is a detailed step that you’ll want to accomplish. Divide each kids’ photos into their own piles so you can easily organize the school photos.
Scanning at this point of the process so you don’t have to worry about a natural disaster or fire. Getting permission to scan the photos for personal use from the photographer first is important.
Details
If you haven’t done so already, it’s a great time to write the year on the back of the photo. We think we’ll remember or we get hung up on perfection that we don’t take action.
Put sticky notes on the stacks of photos and arrange them according to the year. Deciding if you want the most recent pictures on top or use a chronological system with the oldest in front will be the next step in the process.
Take the photos out of the envelopes and place them into the page protectors stick them in the binder and label them with tables, label the front of the binder.
Quick Access to the photos
Now you have quick access to each of the school pictures. Staying on top of your photo mess will be a benefit of this system.
Here’s a link for a freebie that you can use to label the outside of your school photos and sports binder.
Now it’s time to get out the sheet protectors that you plan to use. Choosing to use one sheet protector for a pose or each sport will be another decision you’ll need to make. Another option is to lump all the photos together for the year. Of course, the more sheet protectors you use the cost of the project will increase and the number of binders you need will also increase.

A smaller size of binders like 7 X 9 will work if you don’t have any 8 X 10 photos. I recommend placing empty sheet protectors with the year the name of the child, so you are ready when that year rolls around.
Label
The last step is to fill in the details. Utilizing scrapbook paper for labeling the sport and year makes your project unique. The most important thing is to start the project because starting is better than perfection. Tweaking your project as you go along or when you have time makes the project less daunting.
If you want to get into the details, adding the teacher’s name, activities, sports, friendships, etc, is another thing to consider. Adding the details now will help you when you’re getting ready for graduation 12 years later! Or, in my case, much sooner. AHHH!
Other things to consider
I used a 3″ binder and put all three kids into one. However, it’s reached its capacity so I plan to organize this project and purchase two more binders so that each one of my kids can have their individual binder. It will not take me long to redo the system because it’s a matter of taking the plastic sheets out for each of the kids and placing them in their own binder. I also plan to use more detail and make it more stylish with different colored scrapbook paper.
Another option is to add kids’ artwork or schoolwork to the binders. Your student picks out their favorite art pieces for the year and places them in the binder.
If you don’t mind spending a little more money and archiving is your primary purpose and goal for storing your photos, you might consider purchasing these types of products from Archive Methods.
I remember my grandma created a scrapbook for each family; eventually, she gave the scrapbooks to her children. Many of the photos were pictures we had given her through the years. It was a way for her to organize her pictures and give back to her family when she no longer wanted them. If you are a grandparent, this system might be perfect for you, too!
Finding photos for my son’s graduating party this year was simple because I went to my 3-ring binder with the kids’ school photos. Then I found his area of the book and pulled one 5 x 7 from each year. I was missing 1-2 photos, but I found them in a stack of photos. I used photo tape on the back of each photo and placed each photo on a blue card stock sheet 1/2 larger on each side. Then I punched holes in each corner and strung the photos year by year with a piece of string. The project was so simple because the school photos were organized in this 3-ring binder.
Your Turn
I’d love to hear how you organize your kids’ school photos or other photo collections. Please feel free to comment below! If you want more information on how to tame the digital photo collection, click on this link for a previous blog post. Don’t forget to sign up to get the printed binder cover and labels! I’d love to know if this easy way of organizing school photos has worked for you.
A smaller size of binder, like 7 X 9 will work if you don’t have any 8 X 10 photos. I recommend placing empty sheet protectors with the year and the name of the child, so you are ready when that year rolls around. Below you’ll find a place to sign-up for a free workbook to help you organize your digital photos that also seem to get out of control, like your school-printed photos.

