This post may contain affiliate links. This means we may earn money or products from the companies mentioned in this post.
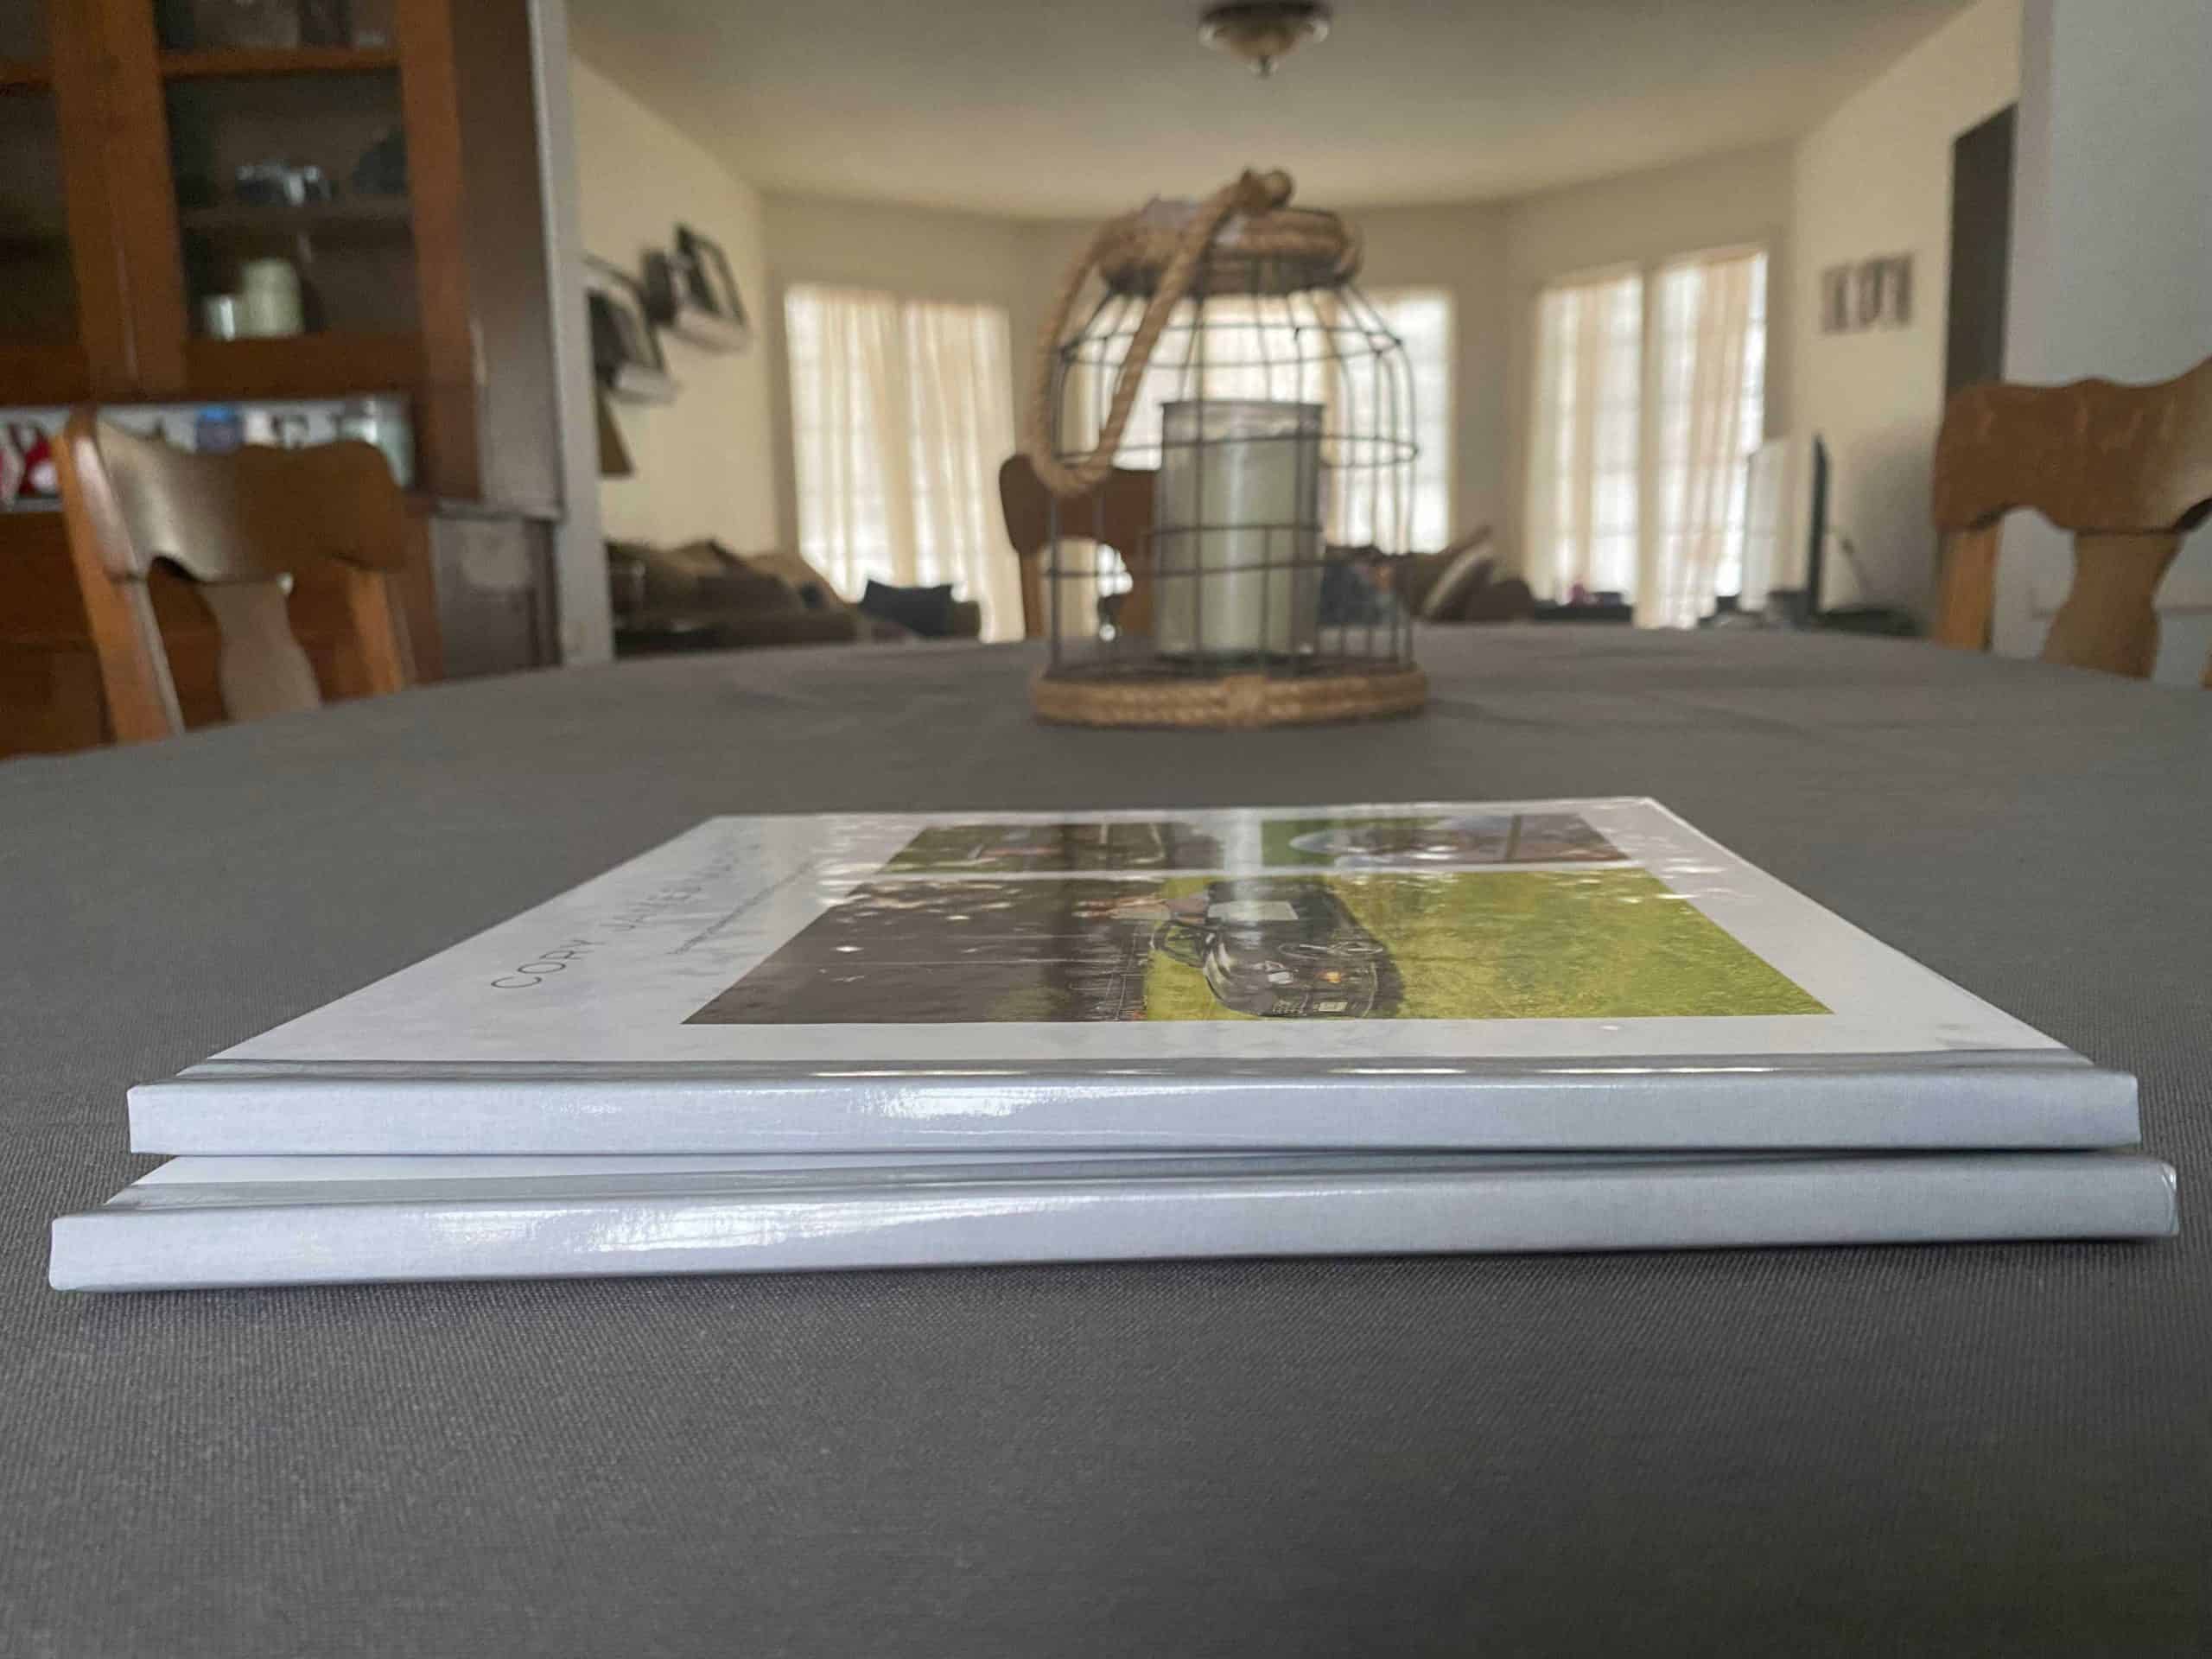
Creating yearly family photo books might be a goal you set out to do each year. If you’re like I was a few years back, you might struggle with all the details of making a yearly album for the family. I’ve perfected my photo book process over the last few years, and I’ll share my ideas with you. Here you’ll find a plan for creating yearly photo books with ease | 21 Tips. These strategies will motivate you to keep it an annual task without much fuss.
I spent too much time looking for photos, designing the photobook, and deciding which photos to use. You don’t have to stress over creating photo books anymore. These are tried and true methods I use when creating yearly photo books for my family.
Tip 1. for Creating Yearly Photo Books with Ease-
Keep all of your pictures in one digital location
Creating a folder structure on your computer with the year and subfolders for each month makes it easy to find all your pictures when you start your project. You can create tags or keywords that relate to the photos within your folder structure. A third tip to keep your photos organized and easily searchable is to “heart” your favorite photos as you go throughout the year and then at the end of the year search for your “heart” photos either in Windows Photos or Apple Photos. easily. You can find out more about creating a folder structure and tagging photos in this post. https://www.memoriesforyouco.com/can-you-tag-photos-in-windows-10/
Another option is to create an album or folder on your computer and copy the favorite photos you plan to use in your photo book. Moving pictures as you go along throughout the year makes it easy to create the book just a few days after the New Year. For images on your phone that need to be moved over to your computer, use an app like PhotoSync that automatically copies your photos to your digital hub.
Here’s more about how to keep all of your photos in one location called a digital hub. https://www.memoriesforyouco.com/how-to-organize-your-digital-photos/
Tip 2. Use pockets of time
You don’t need several hours of time to work on your project. You can use 10-15 minutes of time to keep organized and complete the next action step of your project. Set reminder appointments like you would schedule hair or doctor appointments. Make it a priority over watching tv or scrolling thru your social media feed. Keep track of where you left off so you know what the next action step is in your project.
Tip 3. Use the same photo book company every time
Every time you change to a different photo book company you have to upload your pictures to that site. If you choose one service and stick with it you’ll save time when you need to upload pictures and the process it takes to learn another website.
The quality can vary from the photo book companies. You’ll want to decide if you want a layflat book, a hardcover photo book, or to use archival quality paper. If the cost doesn’t matter and the super high quality doesn’t matter, you might want to pick the service provider with the easiest site to navigate. You can test them out by uploading a few photos to their website and playing with their platform. You won’t be charged until the end when you want to order the project.
Test different vendors to know which “interface’ is the easiest to use and create your project.
However, if your photos are already loaded to one company’s website, moving your photos over to a new one doesn’t make sense. Try to stick with the same company, so all your projects and photos are located in one place.
Thankfully, you don’t need to complete your project in one sitting. You can start your project with a service like Shutterfly or Walgreens, save it as you work on it, and come back later to complete your order. I love this feature because I can wait for a 50% off coupon from the photo book service to order my project.
HERE are a few photo book printer services to order your photo books from Shutterfly, Walgreens, Mpix, Mixbook, Google, Walmart, Snapfish, Blub, and Chatbooks.
Tip 4 – Journal throughout the year
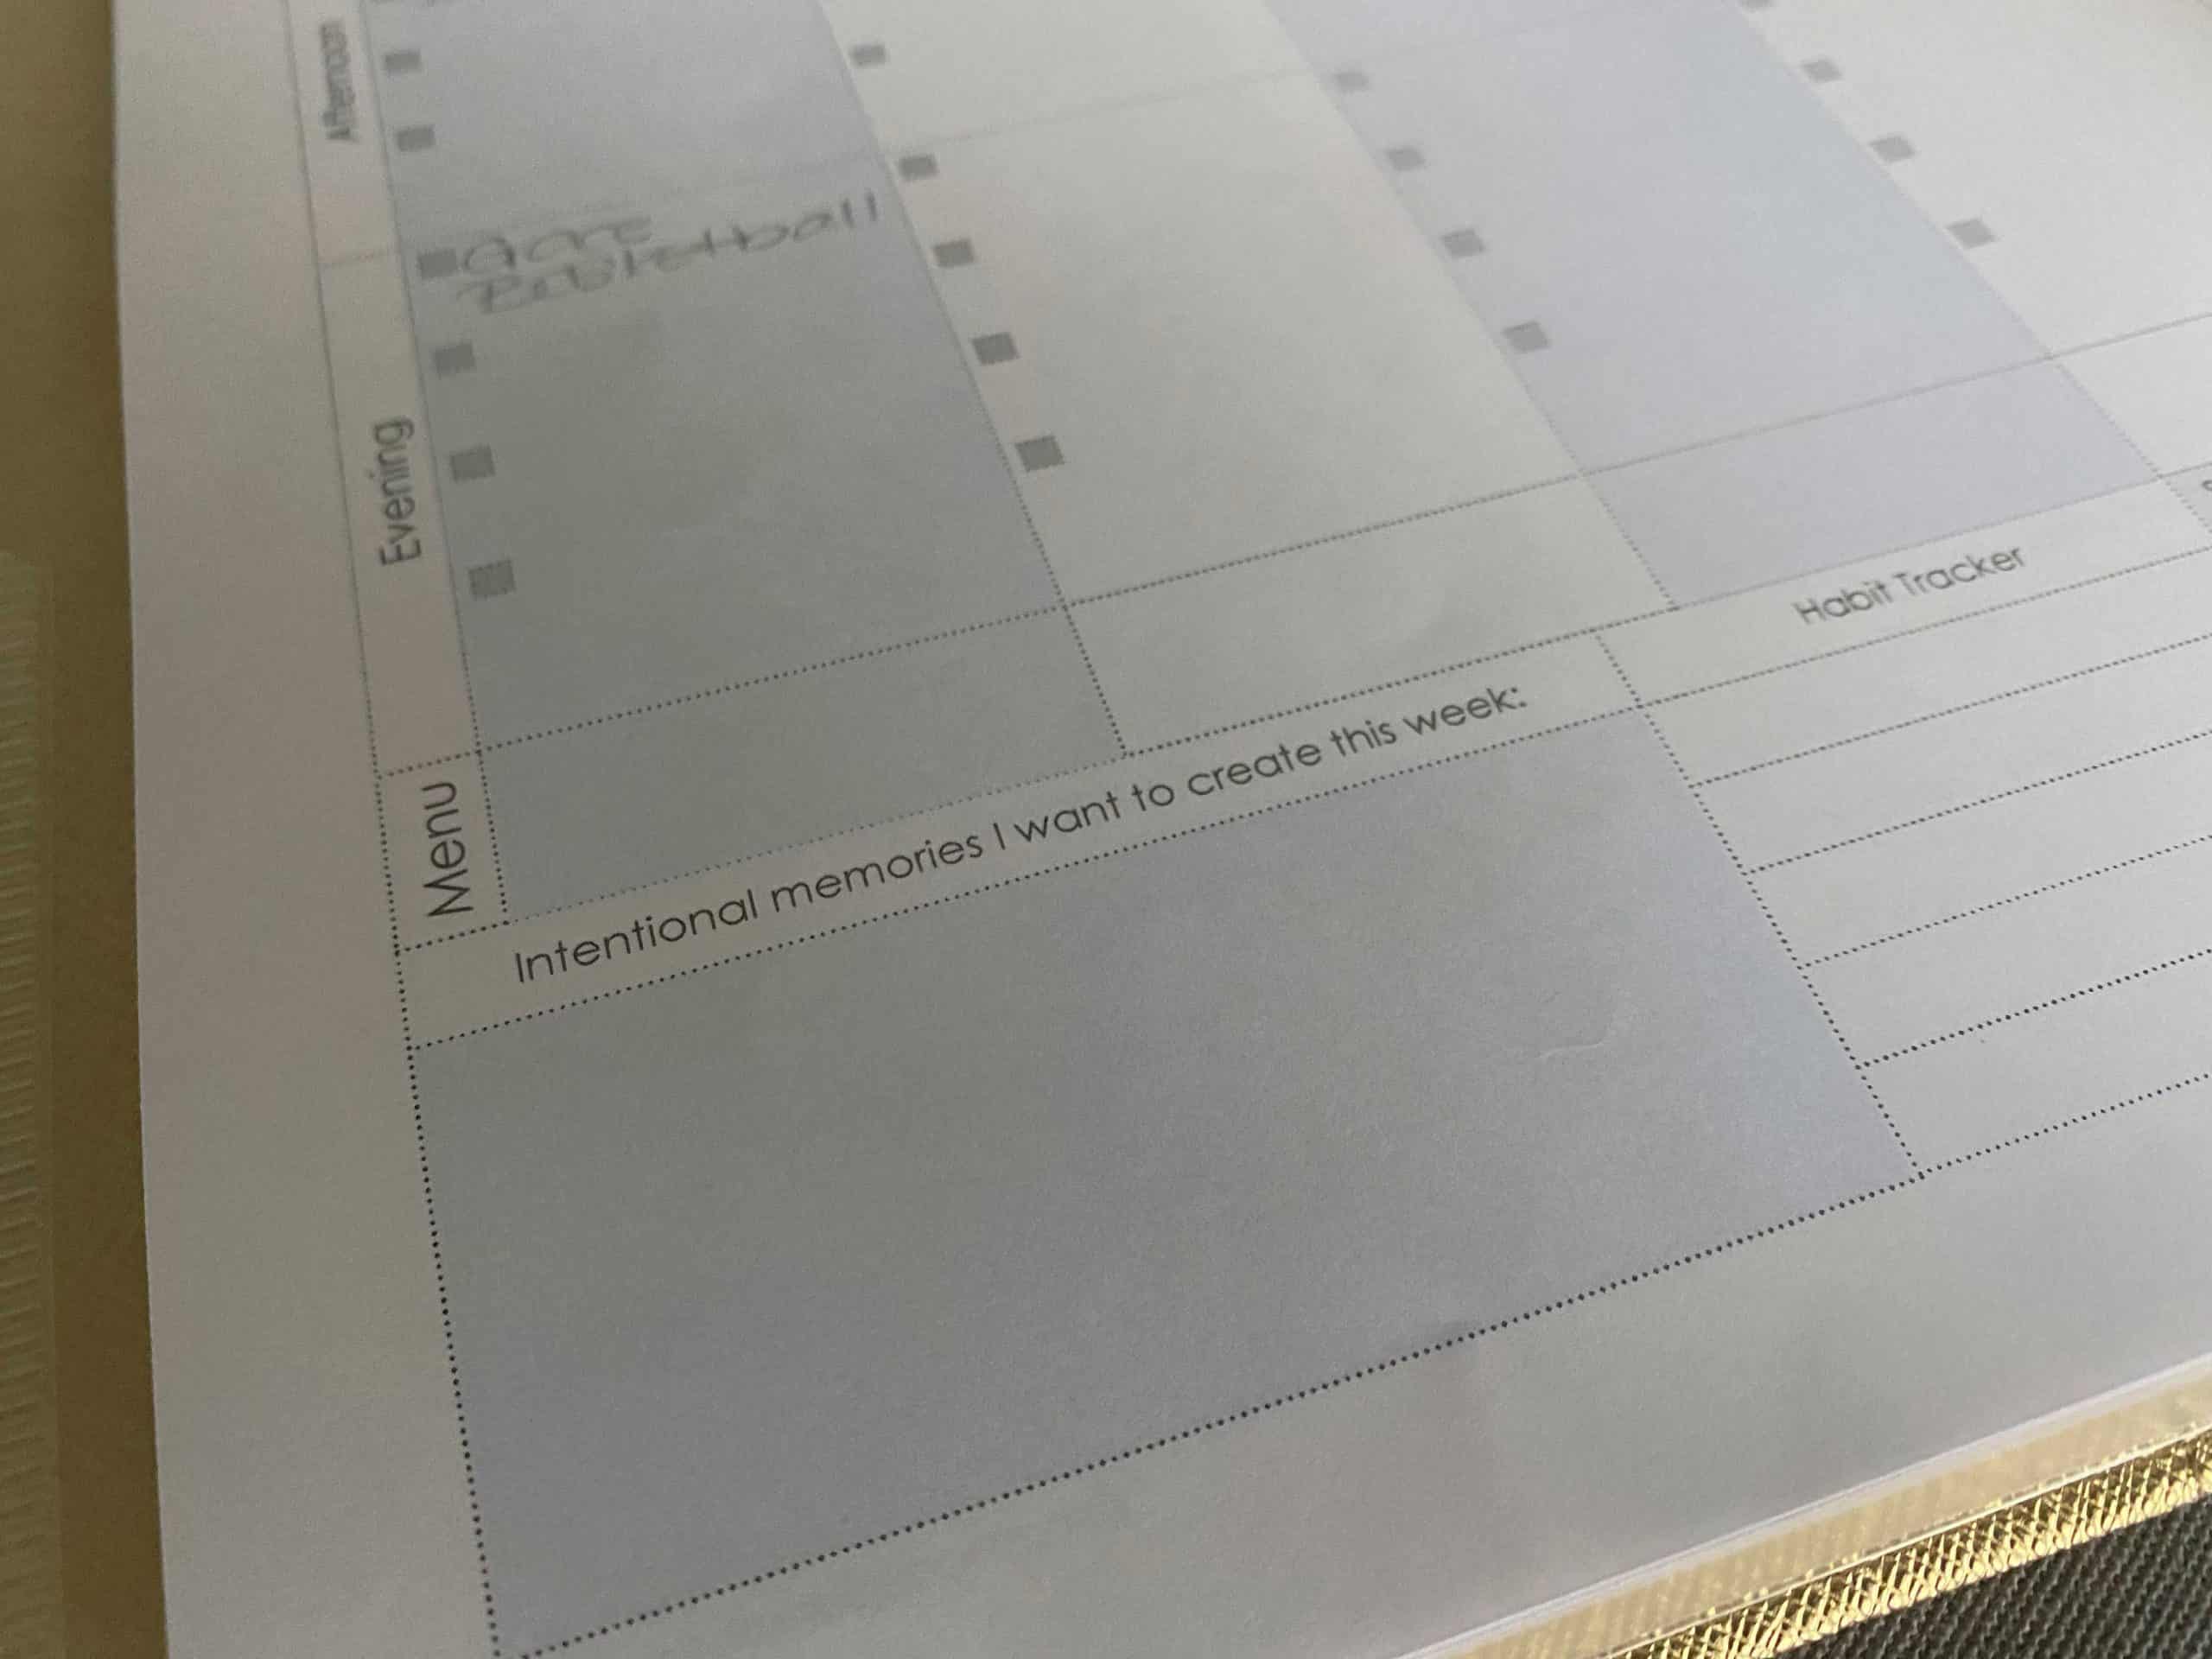
Journaling throughout the year to quickly document the details of your yearly adventures. Add detailed notes in your photo book to make the photo book more meaningful as the years pass. Eventually, those details will be forgotten, but if you have them written down, you’ll recall those unique details that might be lost forever. You don’t need to keep an elaborate journal. Consider documenting the struggles, the sad moments, and not-so-great times. I feel writing the battles down can later show life lessons in the days, weeks, and even years later. Even though remembering them might bring up strong emotions, it can be healing to know that you got through that difficult season of life.
You can grab a notebook, jot down details on your wall calendar or favorite idea, or purchase my 2023 digital planner in my Etsy store. https://www.etsy.com/listing/1081768574 This digital planner has a place for you to document your favorite memories.
Tip 5. Delete bad photos along the way
Tip 5 relates to the first tip. Just get rid of the bad photos so that you can easily find your absolute favorite images from the year instead of random pictures from your camera roll. If you make it a weekly habit of deleting bad photos you won’t need to spend hours searching thru the images you created over the last year.
Photos from your phone can be the best images you’ll take all year. However, your phone also gets full of selfies, screenshots, blurry images, and not-so-good looks from the kids. If you take the time now to delete the photos that you don’t need or like you’ll be well on your way to creating yearly photo books with ease.
Tip 6. Plan the project
Decide on a theme for the project before you start, so you know what type of pictures you plan to use.
You might want page layouts for selfies, sporting events, holidays, vacations, and everyday life at home for family books. Having a plan will undoubtedly save you time by avoiding decision fatigue. Planning the project is one of the best tips in creating yearly photo books.
Tip 7. A good internet connection is key
You’ll need a good internet connection while loading pictures and working on your project.
Suppose your internet struggles with load time when everyone in the house is using it. In that case, you’ll probably need to plan a time when fewer family members are streaming or gaming, taking up valuable internet speed. A fast internet connection equals an easier photo project creation!
Tip 8. Download the App
Download the photobook providers’ app on your phone.
Why might you say? I typically use Shutterfly for all my photo books and other projects because most of my family photos are there. The app lives on my phone, where they are automatically uploaded to my Shutterfly account. One less step I have to worry about when I want to start a project.
Tip 9. Don’t use Photoshop or Affinity for this project
You don’t need specific software like Photoshop or Affinity to create a photobook. Unless this is your hobby or you know photoshop like the back of your hand just stick with the apps that come with the printing service.
You can use a photo app from the store you plan to order thru. Using the company’s platform will save you time learning the software and the process using a 3rd party printer.
Tip 10. Just keep it simple
Why not keep it simple and get it done. Don’t get caught up in the details.
It doesn’t have to be perfect, but you will thank yourself years later when a photobook is archived with your family memories. The digital stickers and papers you use really don’t matter. The point is to print your favorite memories so that the photos are just digital dust on your camera card or photo roll on your phone. 10 years from now, you’ll probably enjoy a photo book that is less trendy and focuses on the photos and journaling of your memories.
Tip 11. Use a monthly subscription service
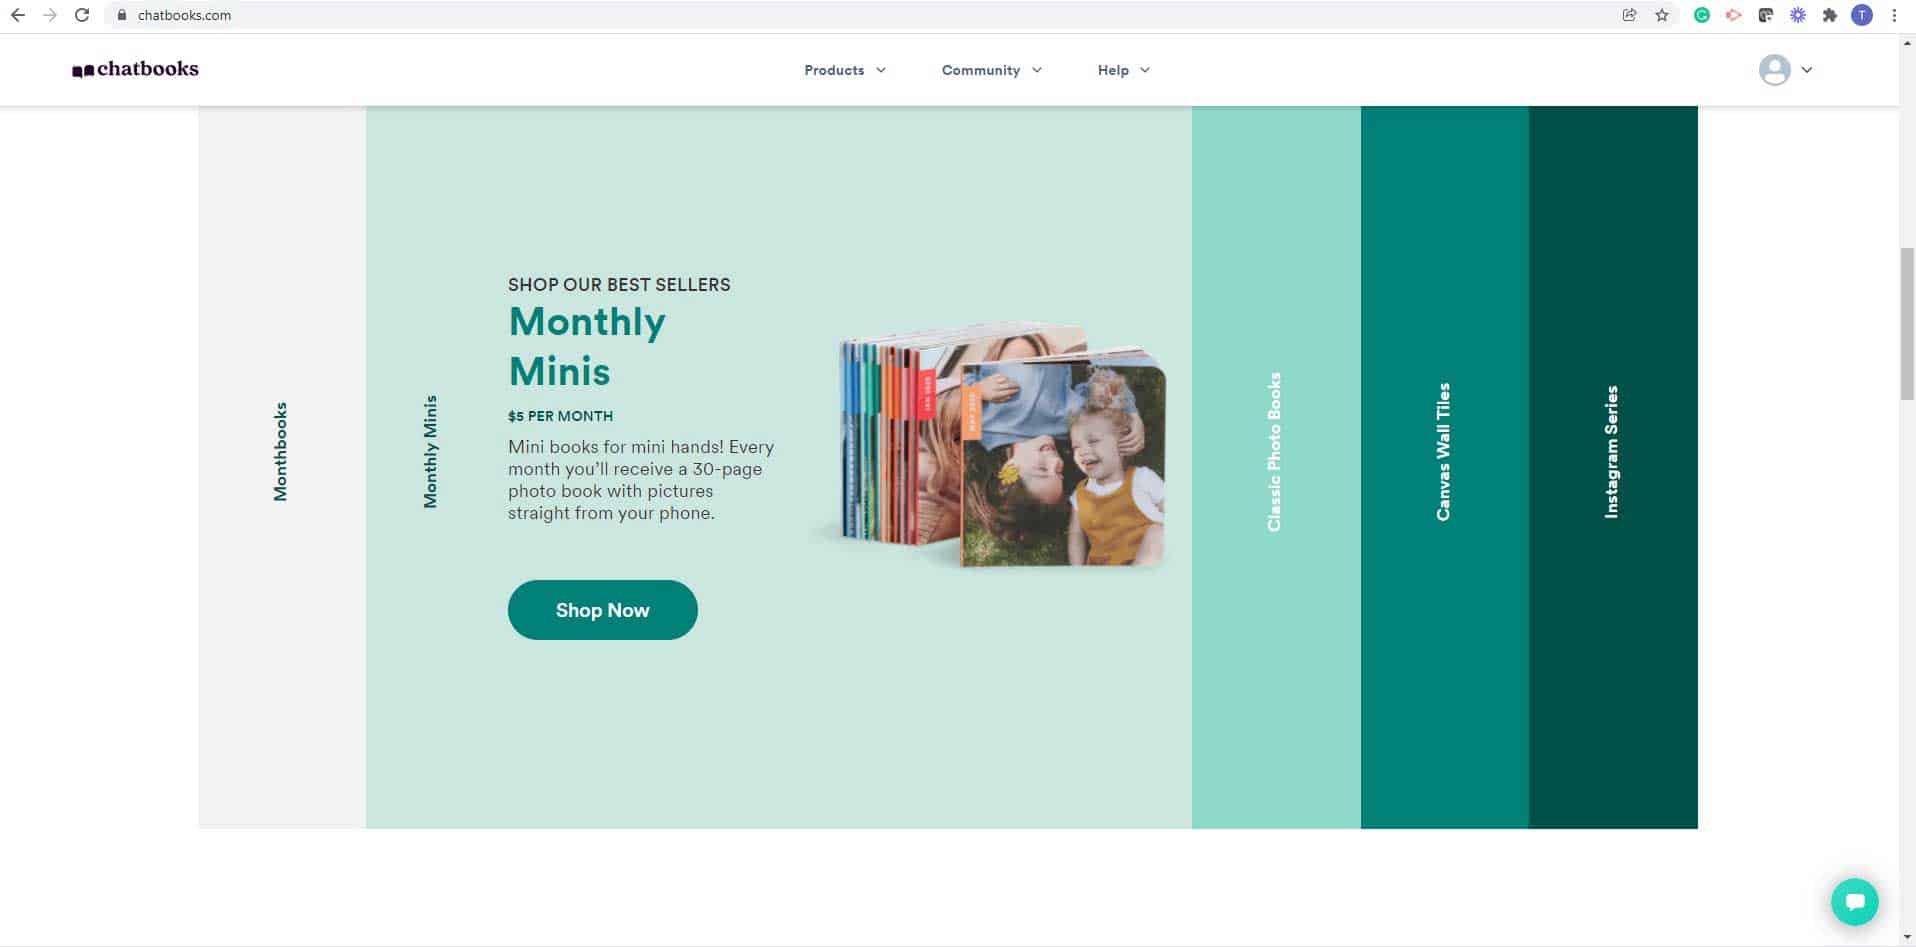
By using a monthly subscription service, you can easily create photo books from your camera roll or Instagram feed.
A subscription service is perfect for those without a lot of time who don’t enjoy the process of creating the photo book but want to document the memories they’ve created. Photobook subscription services make a great gift idea for that hard-to-buy-for person with everything!

Tip 12. Design It for Me services
Consider using the Design-it-for-Me feature in the app, such as Shutterfly, to take the decision-making out of the project.https://www.shutterfly.com/mmb/#/1?icid=PB%7CCat%7CR3C2%7C101121%7COptions%7CMakeMyBook
You can tweak the details after the project is created to fit your needs. It’s similar to the monthly subscription service however, you decide when you want to create a book and the photos you’ll use for the project.
Tip 13. Review your project
Look for the details like blurry photos, photos that are cropped in strange places, typos, or images that aren’t that good after all. Don’t spend a lot of time on this. Do set aside uninterrupted time or have a second set of eyes on your project so you have help with the details you previously missed.
If you decided to use your phone to create a quick and easy family photo book now, it’s time to head to your computer to look everything over and make the necessary edits.

Tip 14. Save often.
I’ve been there. I’ve worked several hours on a project, and my laptop died, or the internet cut out, and I lost my entire project. At that point, I just wanted to call it quits on my project and scroll thru the Netflix movies listings and veg on the couch. Make sure you know where the SAVE button is on the companies website especially when changing from one screen to the next, hit SAVE to save your sanity! Shutterfly automatically saves every 5 minutes. That might be enough time to just lose some very important work especially when your import photos into your project.
Tip 15. Scan memorabilia ahead of time
Taking the time to scan your kids’ memorabilia will save you time when you go create the photo book. Memorabilia adds a special touch to the book. You can use their favorite school projects, artwork from home, a love note from them, or souvenirs from a trip. Having a digital copy of your kids’ artwork will save the piles that seem to accumulate on your kitchen counter.
You don’t have to have a professional scanner to preserve the favorite momentos from your kids. Taking a snapshot on your phone and uploading it to the photo book is a super-easy way to keep your favorite memories in one place.
Tip 16. Make multiple copies for each of your kids
You can use the first copy as a template but with a few minor tweaks for each kiddo, you can make it unique or special for them. I did this even with physical scrapbooks for my kids.
The process made it easy for me to create each album for them because I didn’t have to think about the layout or the particular paper I would use. I just altered each page with photos specific to each of them. It saved me lots of time and energy thinking about the layout and design when creating yearly family photo books.
Tip 17. Create as you go!
Yes, when the month ends, just upload the pictures to your favorite photo book service. Set a reminder on your phone to do it in the 1st part of the following month to create your first-month layout. And once again, make sure you save the project. Once February rolls around, open the saved project and you can easily create your 2nd-month’s layout.
Creating a monthly strategy of uploading your pictures, selecting your favorites, and creating the design is a great time-saving tip. Then when January rolls around the following year, you’ll have a completed photo book that you just spent a few minutes on each month!
Tip 18. Don’t need to stick to their layout
If you didn’t know, you could easily change the layout with the number of pictures you display on a page. Sometimes this feature is hidden and you think you’re stuck with their layout or their designs but don’t let this stop you from adding your own spin to the project. Another example is you can delete their preset design elements that you don’t like. Look for other elements such as digital papers or stickers in their design library.
Tip 19. Use a syncing app
An app like Photo Sync or iMazing will help you maintain the digital clutter you have across devices and platforms. Photos from other family members can be downloaded to your one digital hub to make it easy to include their photos in your family photo books. Syncing their photos to your digital hub will save you time and frustration later.
Tip 20 to Create Yearly Photo Books with ease – work on it monthly
Every week think about the pictures you’ll want to have for your photo book and be intentional about taking photos of your family. Start work on organizing and deleting, documenting, and uploading in the pockets of time that you have throughout the week or month.
A typical photo book comes with 20 pages, so you’ll have enough pages for each month of the year plus a few extra layouts. You can also pay for additional pages, and sometimes they have sales upgrading to unlimited pages.

Tip 21. Utilizing themes to select your photos
- Sports
- Vacations
- Holidays
- Birthdays
- Lessons learned
- Struggles
- Everyday
- Weather
- Friends
- Family
- Your neighborhood
- Favorite Food
- Activities
- Pets
- Hobbies
- Awards
- Places they sleep
- Favorite toys
By using these 21 tips to create yearly photo books, you’ll be well on your way to having family photo books that you can enjoy for years to come. What tips do you have when creating photobooks? I’d love to hear from you. Don’t forget to download my freebie where I help you start organizing your digital photos so you can easily find them to create photo projects.

